Before we get back to the turkey, which lets face it is probably why most of you are here, I need to give a big Thank You! to Nick and Jess for spending their first Thanksgiving with my family. (And by “need to”, I mean that they gave me a bunch of harassment for not mentioning them in the last post, so I’m getting it out of the way up top so they can’t miss it and I don’t forget. Love you guys!) Also, I realize that as a “recipe” this whole thing is a bit difficult to follow. I’ll write up an actual recipe and post that as well.
OK, let’s talk turkey, shall we! Last we left the beautiful bird, it was spending 4 days in the fridge in a dry brine.
The Turkey, Phase B (I like mixing my numbering schemes, don’t ask why. I have no clue.)
I started Phase B on Wednesday morning. The way I cook this bird, I do most of the actual cooking the day before Thanksgiving, meaning that day of I have less to worry about. Well, I say “worry about”, but really this is so simple that there isn’t much TO worry about. Regardless, I give the turkey a cook on Wednesday, reheat it and then finish on Thursday.
Step 1: Prep your sous vide setup. Don’t have an immersion circulator? No vessel large enough for an entire turkey? Fear not! There are plenty of guides online for doing sous vide on a budget. All you really need is a thermometer, a cooler, and a ready supply of hot water. Once again, others explain all this much better than I can, so go give it a look if you’re interested. But on to the setup!
I setup one large and one small cambro full of water and set an immersion circulator in each to 150F. While I can get all the turkey in just the large cambro, it just makes me a bit nervous. There’s not much room for water to circulate, it takes a while for the water to get back up to temp with that much mass in there, and I have a second setup so why not use it?

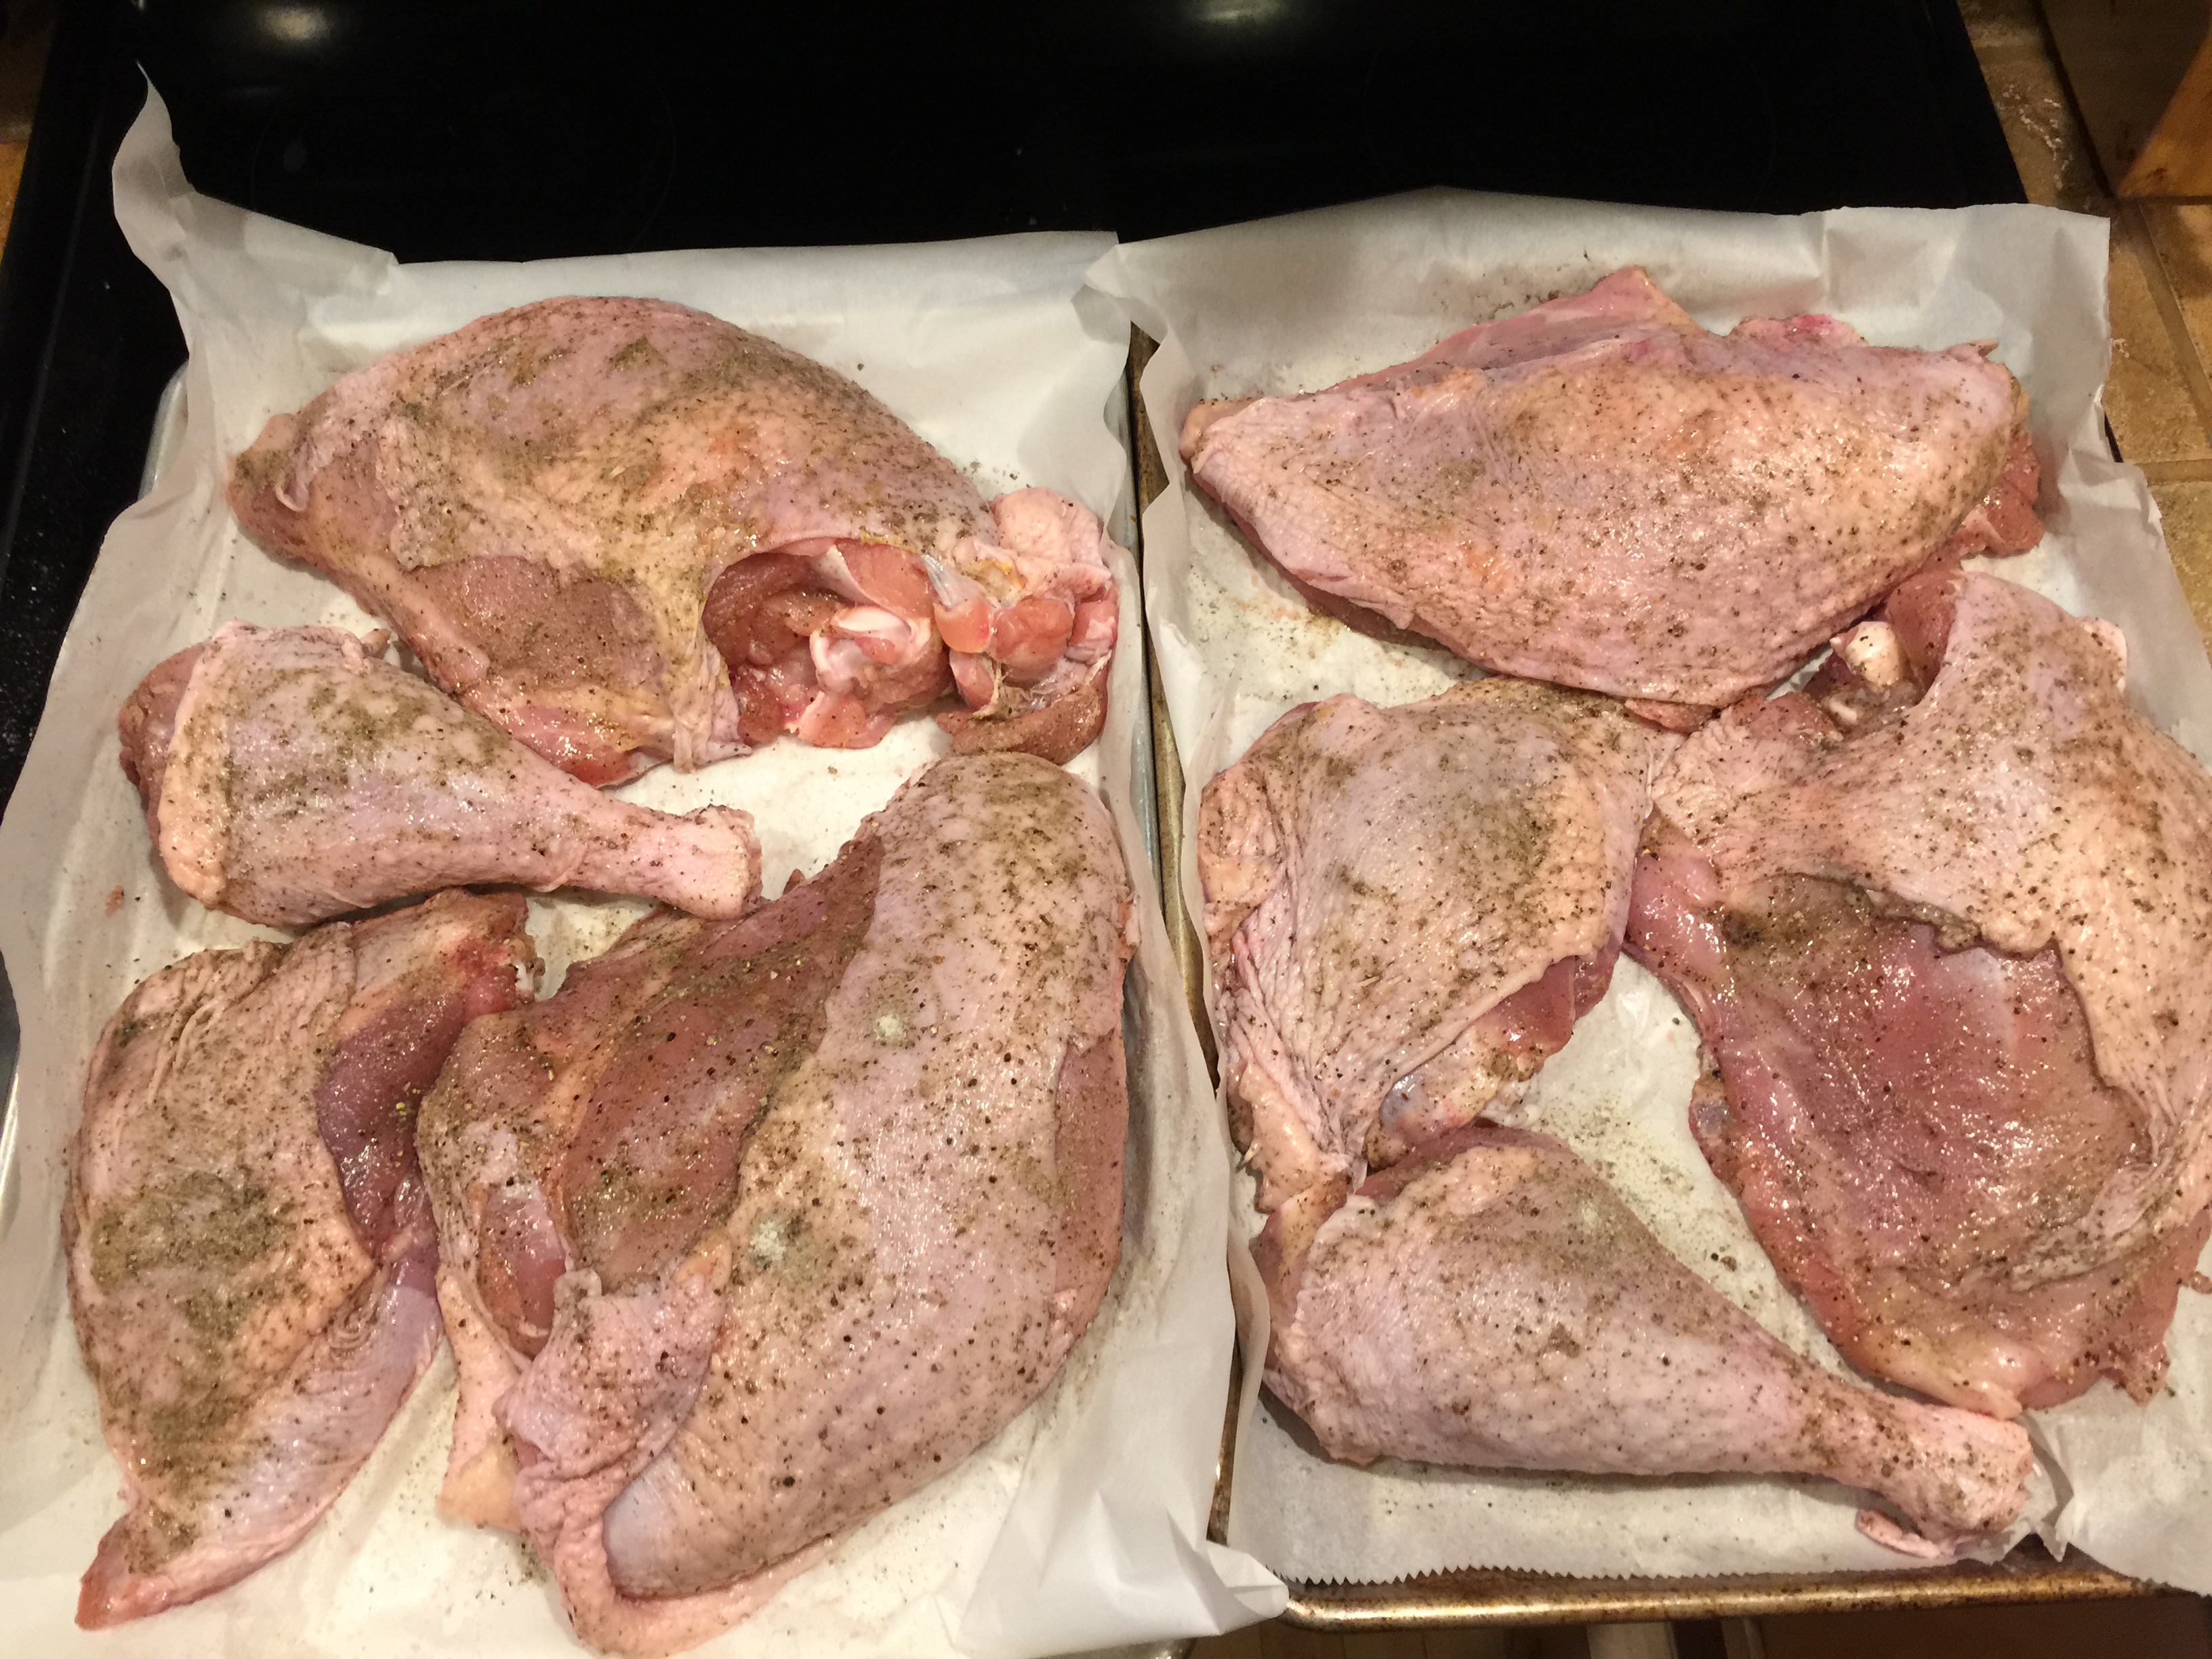
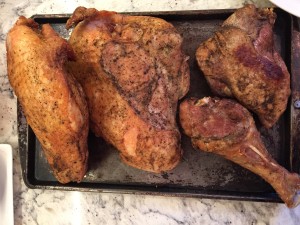
Look at the color on that turkey! Beautiful!
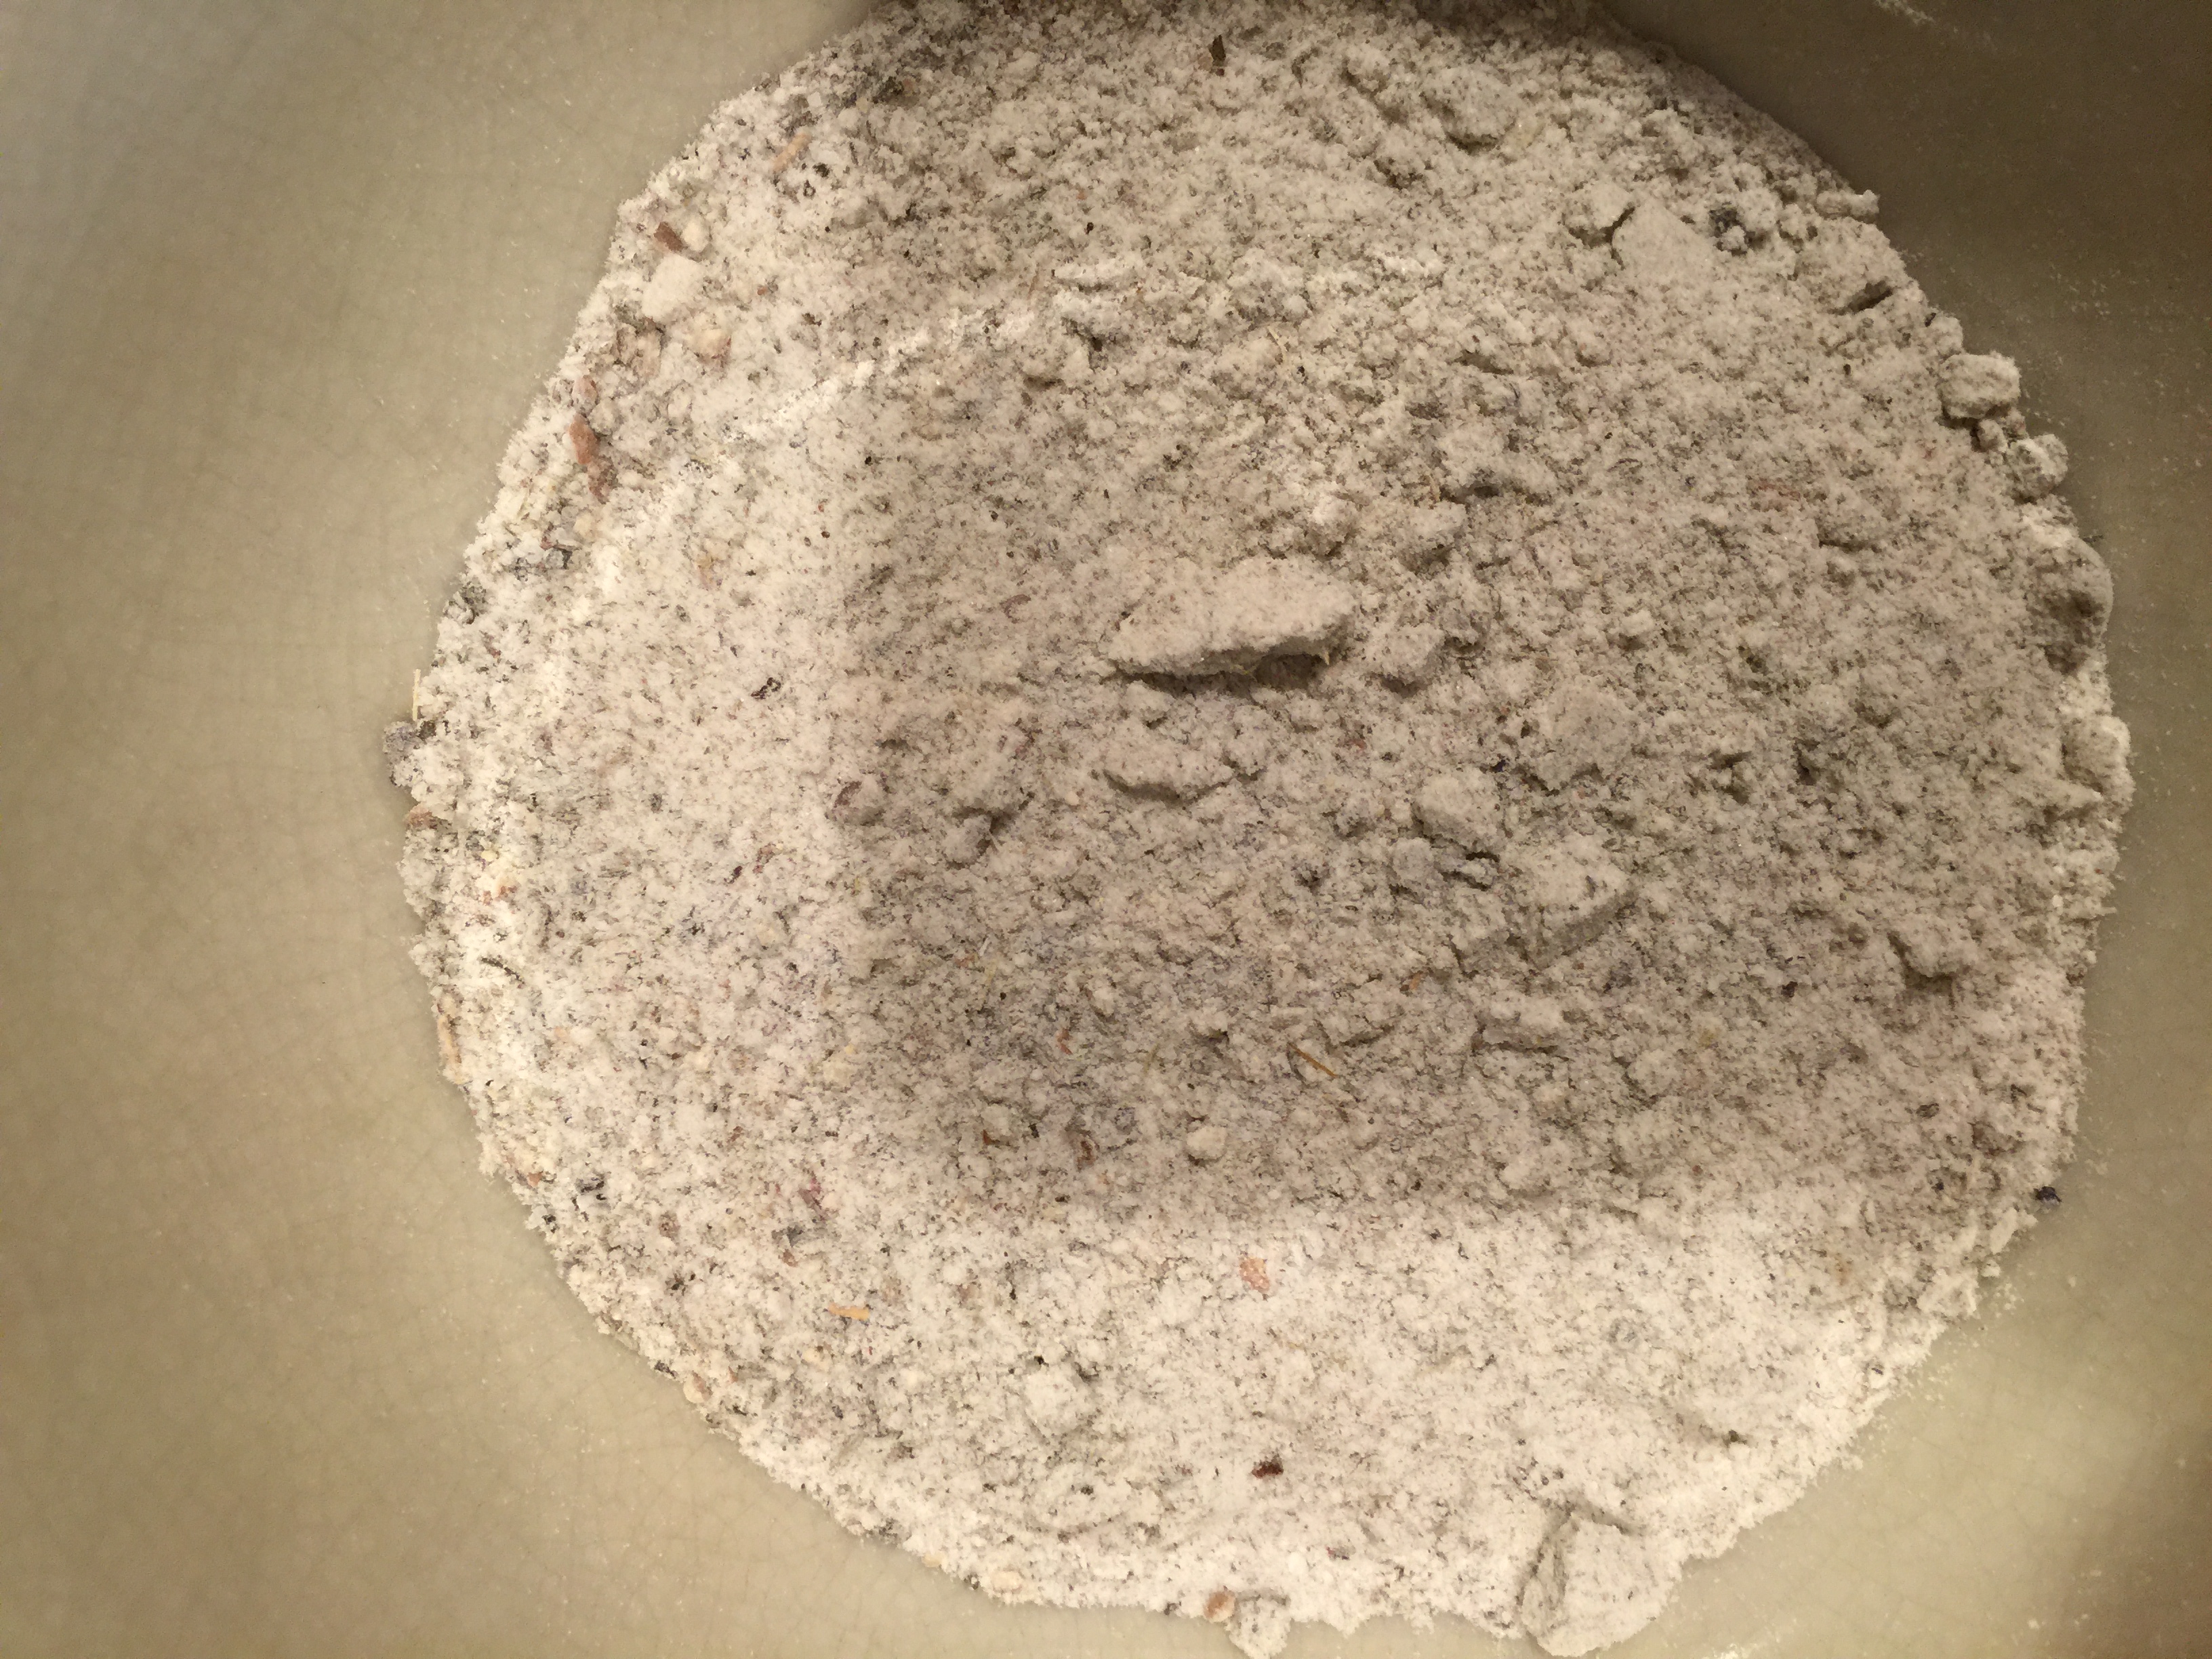
Step 2: Time to take the turkey out of the fridge and prep it to cook. After 4 days, it will have taken on a beautiful, dark pink color. The skin should be nice and dry.
Mmmm……duck fat……
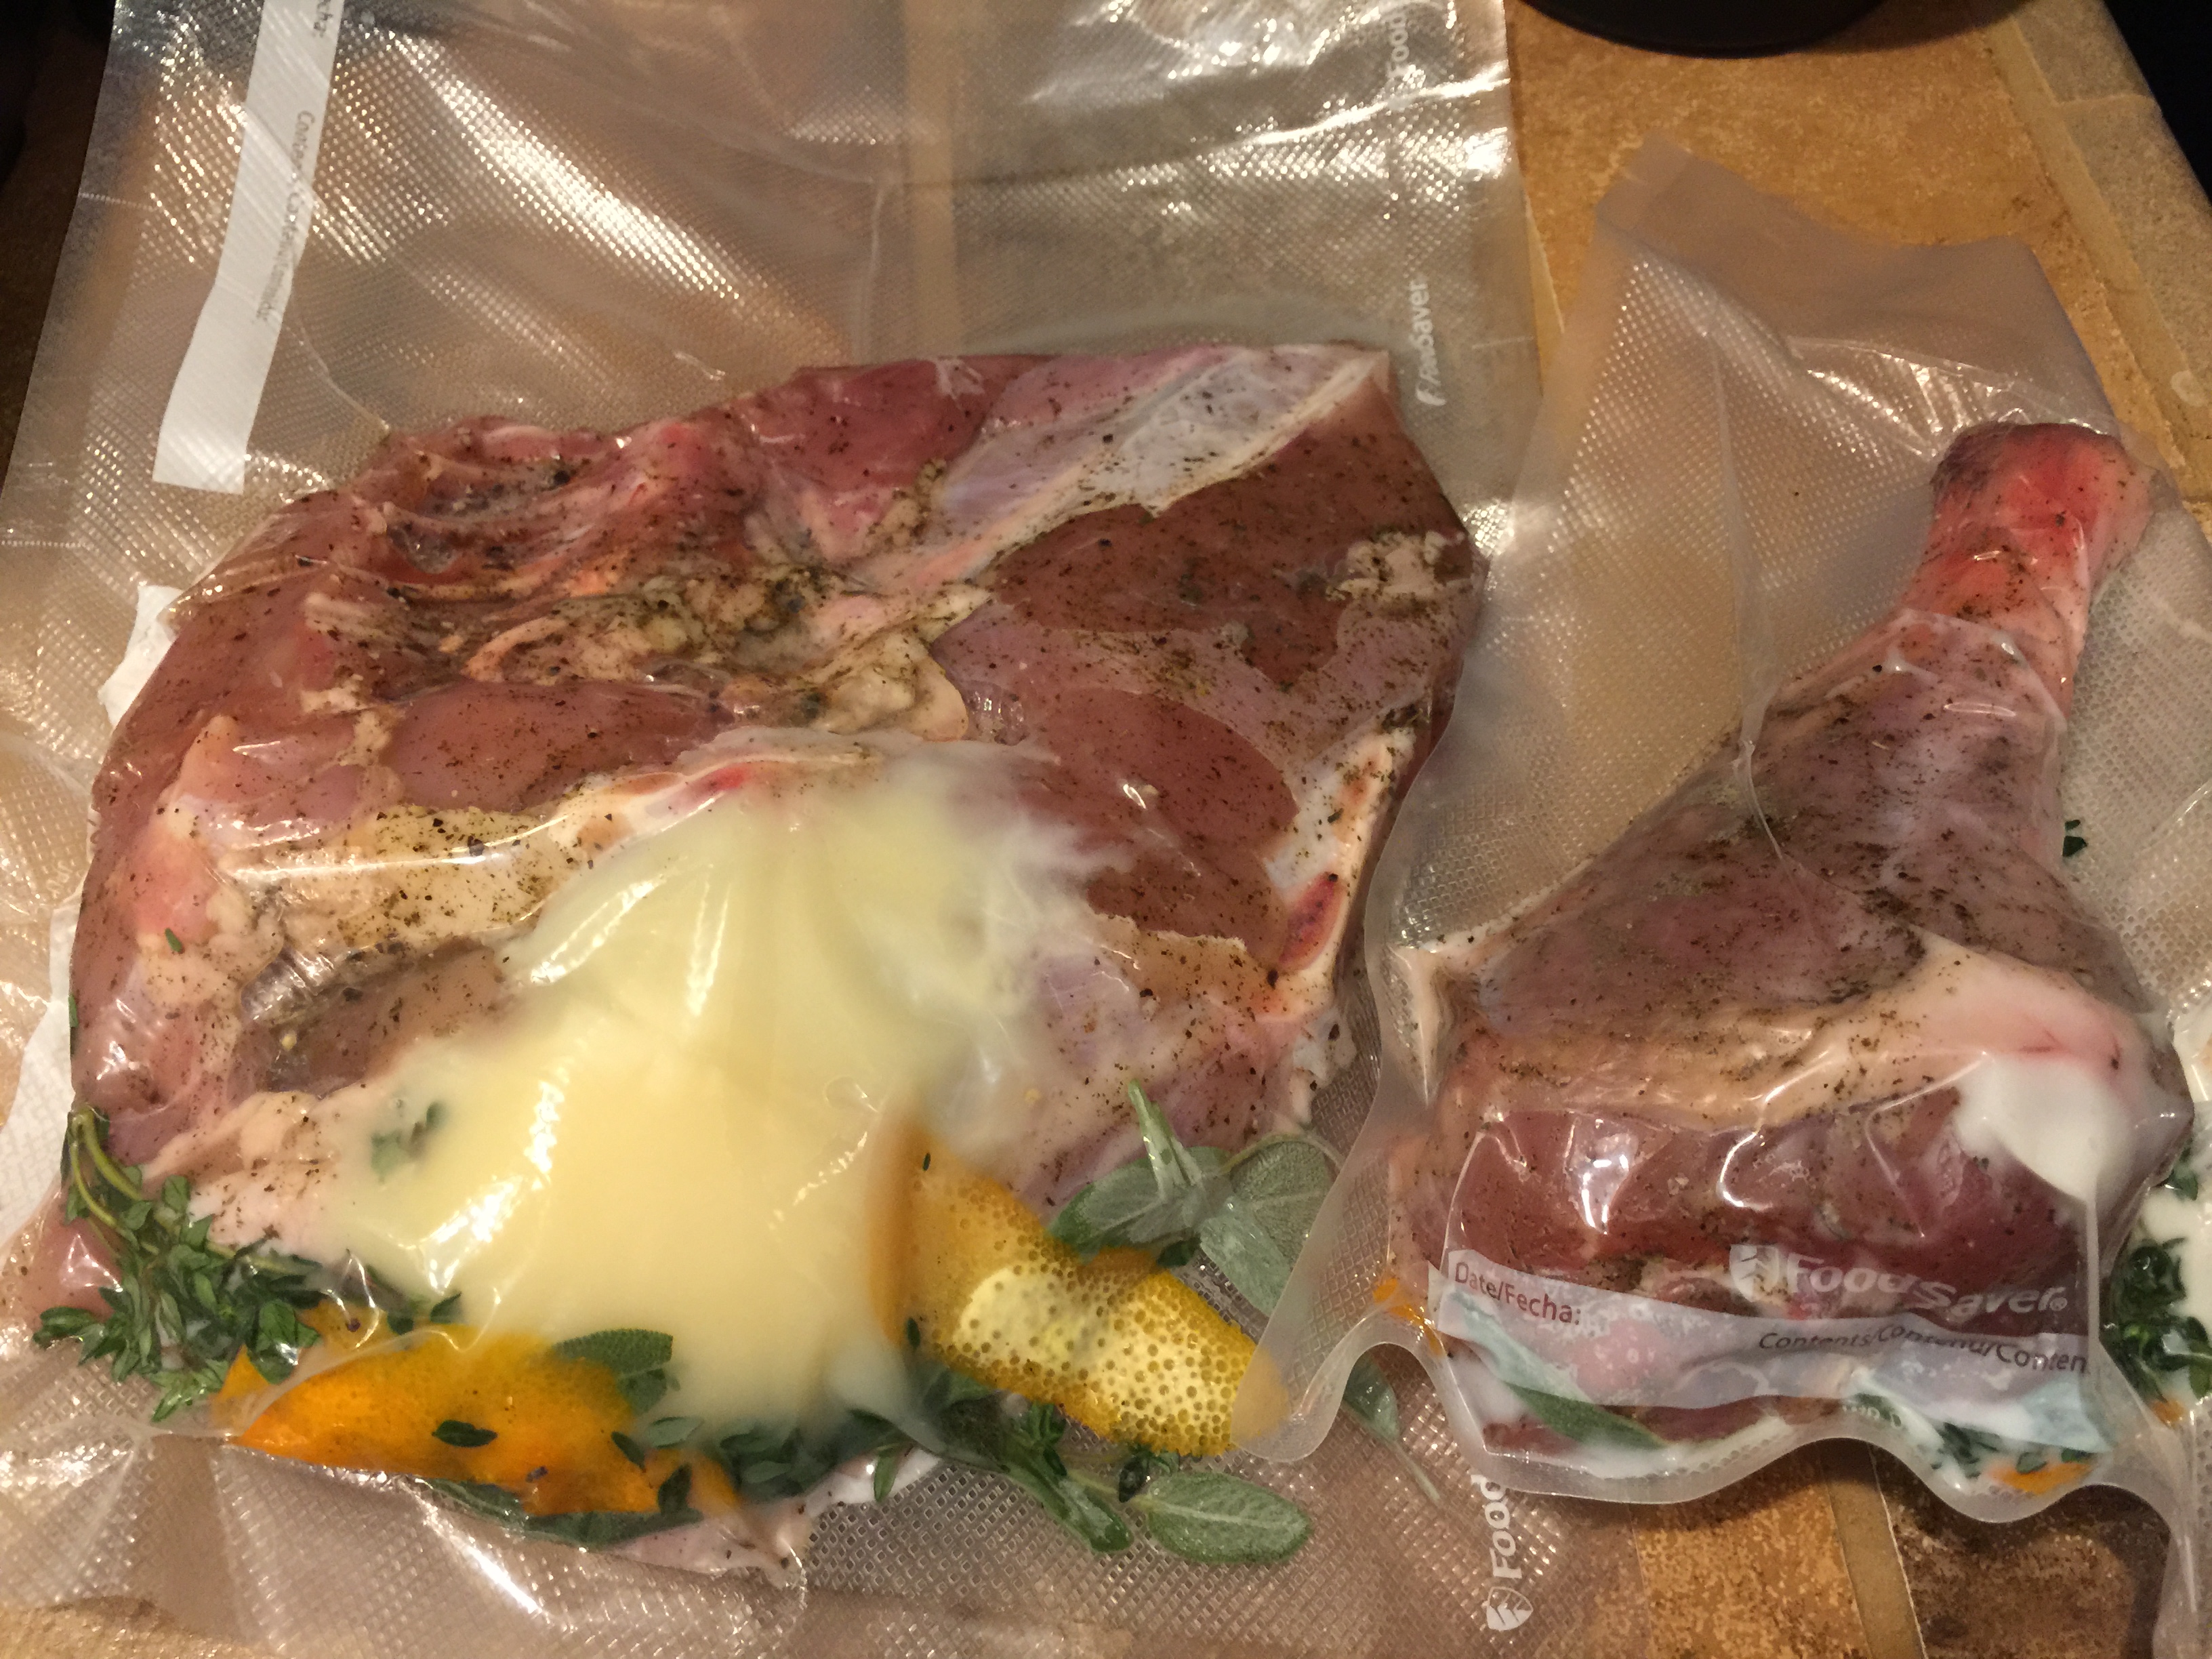
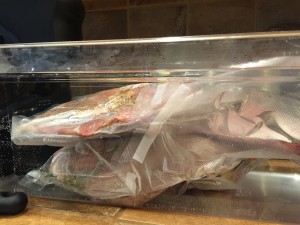
Take each individual piece and put it in a vacuum seal bag of appropriate size. I use a Foodsaver that works really well for home applications. If you don’t have a vacuum sealer, just use large ziploc bags! In each bag along with the turkey, put in 1/4 cup of duck fat, a couple pieces of orange peel, several sage leaves, and some fresh thyme. I do the thighs first, because they cook for about 30 minutes longer than the rest of the bird. After turkey and deliciousness are in each bag, vacuum seal (or if using a ziploc bag, push the bag under water up to the zipper, forcing all of the air out of the bag, then seal tight).
-

- Sealed up and down for a couple hours in the bath

-
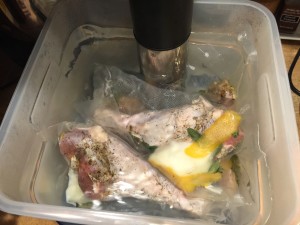
- Smaller cambro with the dark meat

-
- Side Shot

Step 3: Time for the cook! Put the thighs in the water bath first, and let them cook for 30 minutes. After 30 minutes, put in the legs and breasts. I put the breasts in the large cambro, and the thighs/legs in the small one. This leaves plenty of space for circulation, and doesn’t cause the temp to drop too severely. Let them go for another 2 hours.
Step 4: After the thighs have been in for 2.5 hours, and the rest in for 2, take all of the sealed bags and put them in ice water to chill. If you don’t have ANOTHER vessel big enough for all that turkey, you can do what I did. I set the temp on each circulator down as low as it will go – they don’t have the ability to cool, but this turns off the heating element entirely – then drained out a significant amount of the water in each cambro. After that, dump in as much ice to each as you have available, and fill the rest with cold water from the tap. This brings the temp down pretty quickly. As the circulators registered rising temperatures, I’d drain out a bit more of the warm water and replace with cool. After about 10 minutes, the meat had cooled down enough to throw it in the fridge.
Step 5: Let the turkey chill out overnight. That’s all there is to this step. Really.
The Turkey, Phase 3
Step 6: It’s THANKSGIVING! Happy Thanksgiving! You have a fully cooked turkey. Fully cooked, but not ready to eat yet. That skin is super rubbery, and the turkey is all cold! A couple hours before serving time, get your sous vide setup going again. The goal here is to get the turkey warmed through, not necessarily all the way back up to 150F. We will, after all, be finishing everything in hot fat, so we don’t want anything to overcook. The turkey should spend 45mins-1hr warming, but if it goes longer it’s not a big deal.
Step 7: 70 minutes or so before serving time, get your turkey fryer all setup. I use one I got at Home Depot a few years ago with peanut oil. You can use whatever fry oil you like. We want the oil to hit 375F. Depending on the day and how powerful the burner on your fryer is, this can take a while. While the oil is heating, you can go and do final prep on your turkey. Just remember to ALWAYS leave someone watching your fryer! This is a giant pot of oil over open flame after all! This is dangerous!
While the oil is heating, take each piece of turkey from the water bath, cut open the bag, and put the pieces on a paper towel lined sheet pan. I also try to remove any herbs or orange peel stuck to the turkey, we don’t need that hitting the deep fryer as well. Pat everything dry.
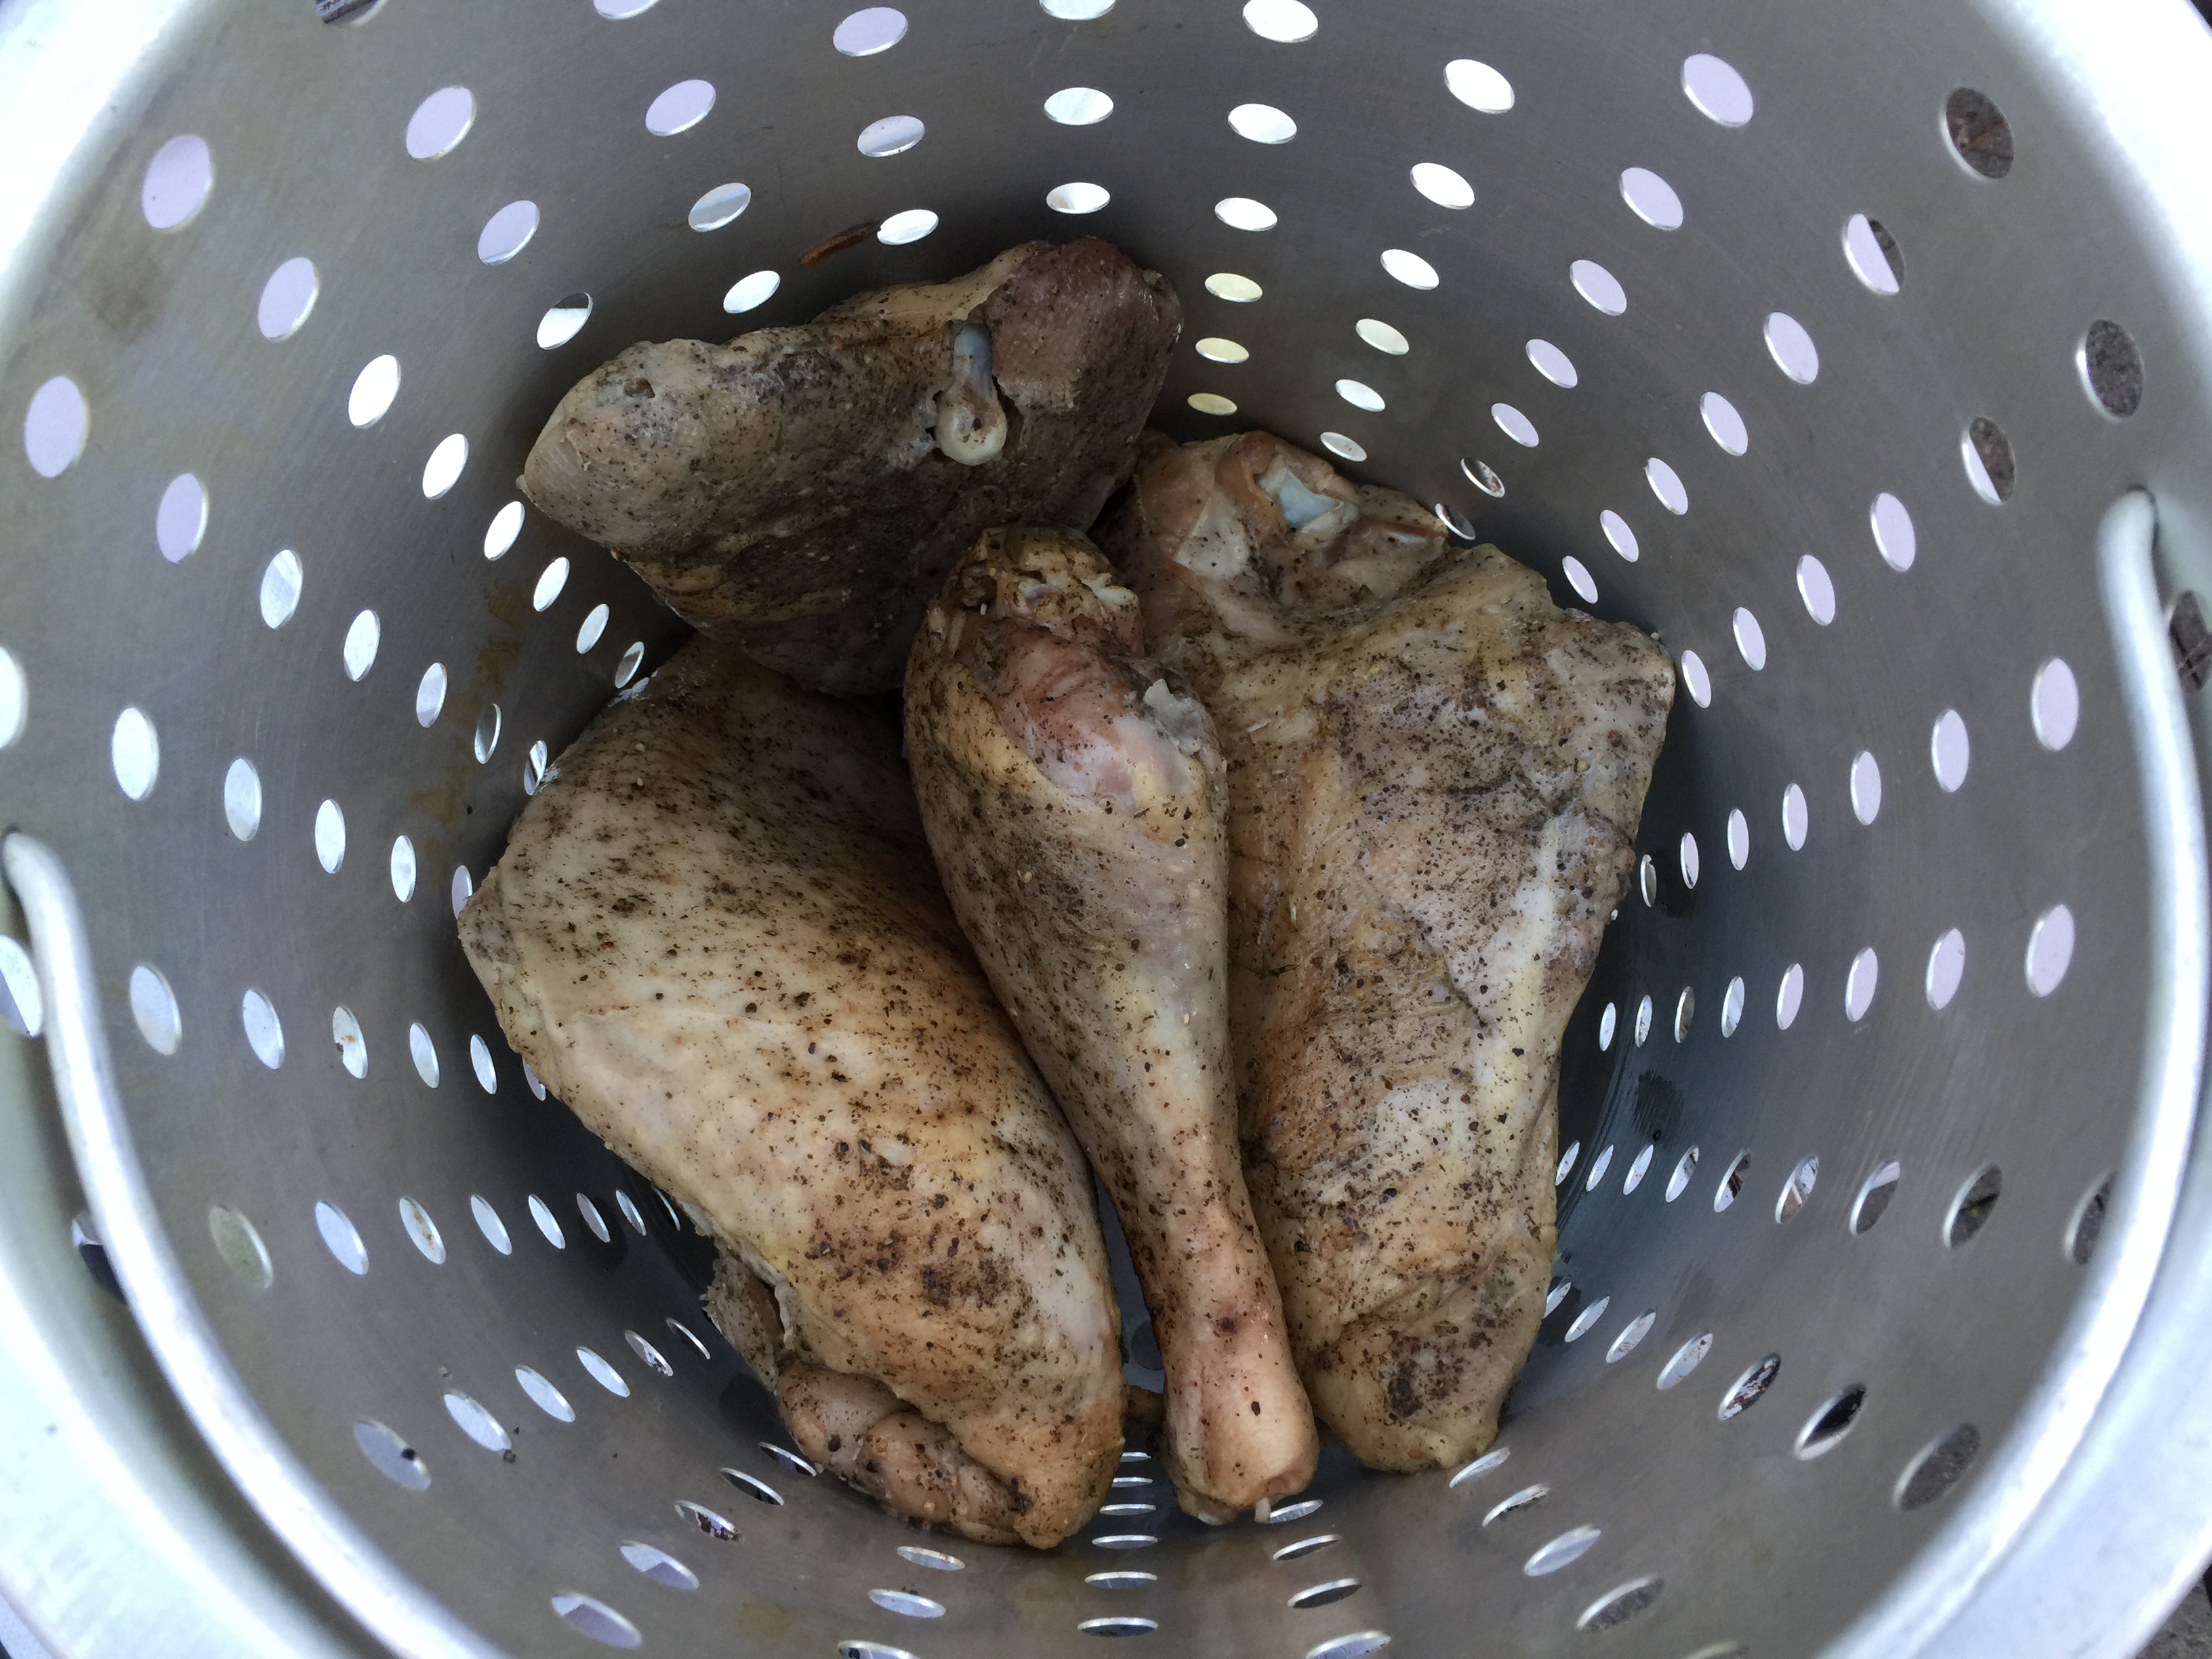
Got the fryer basket loaded up with half of the turkey
Step 8: It’s about 40 minutes before you want to eat, your oil should be about at 375F by now, and we are ready to fry! Your fryer probably came with a nice fryer basket to use in just this type of situation (see pic above for reference). Load it up with about half the turkey – I did 2 breasts, 1 thigh, and 1 leg per batch. Take the thermometer out of the oil to make room for the basket, and SLOWLY….VERY SLOWLY!!!! lower the basket into the hot oil using the provided hook and the handle on the basket. Since we’ve dried off the turkey already, there shouldn’t be any splattering, but there will be plenty of bubbling. If you lower things in too fast, you might get a boil over, in which case your Thanksgiving turns into this. You don’t want that. Nobody wants that!
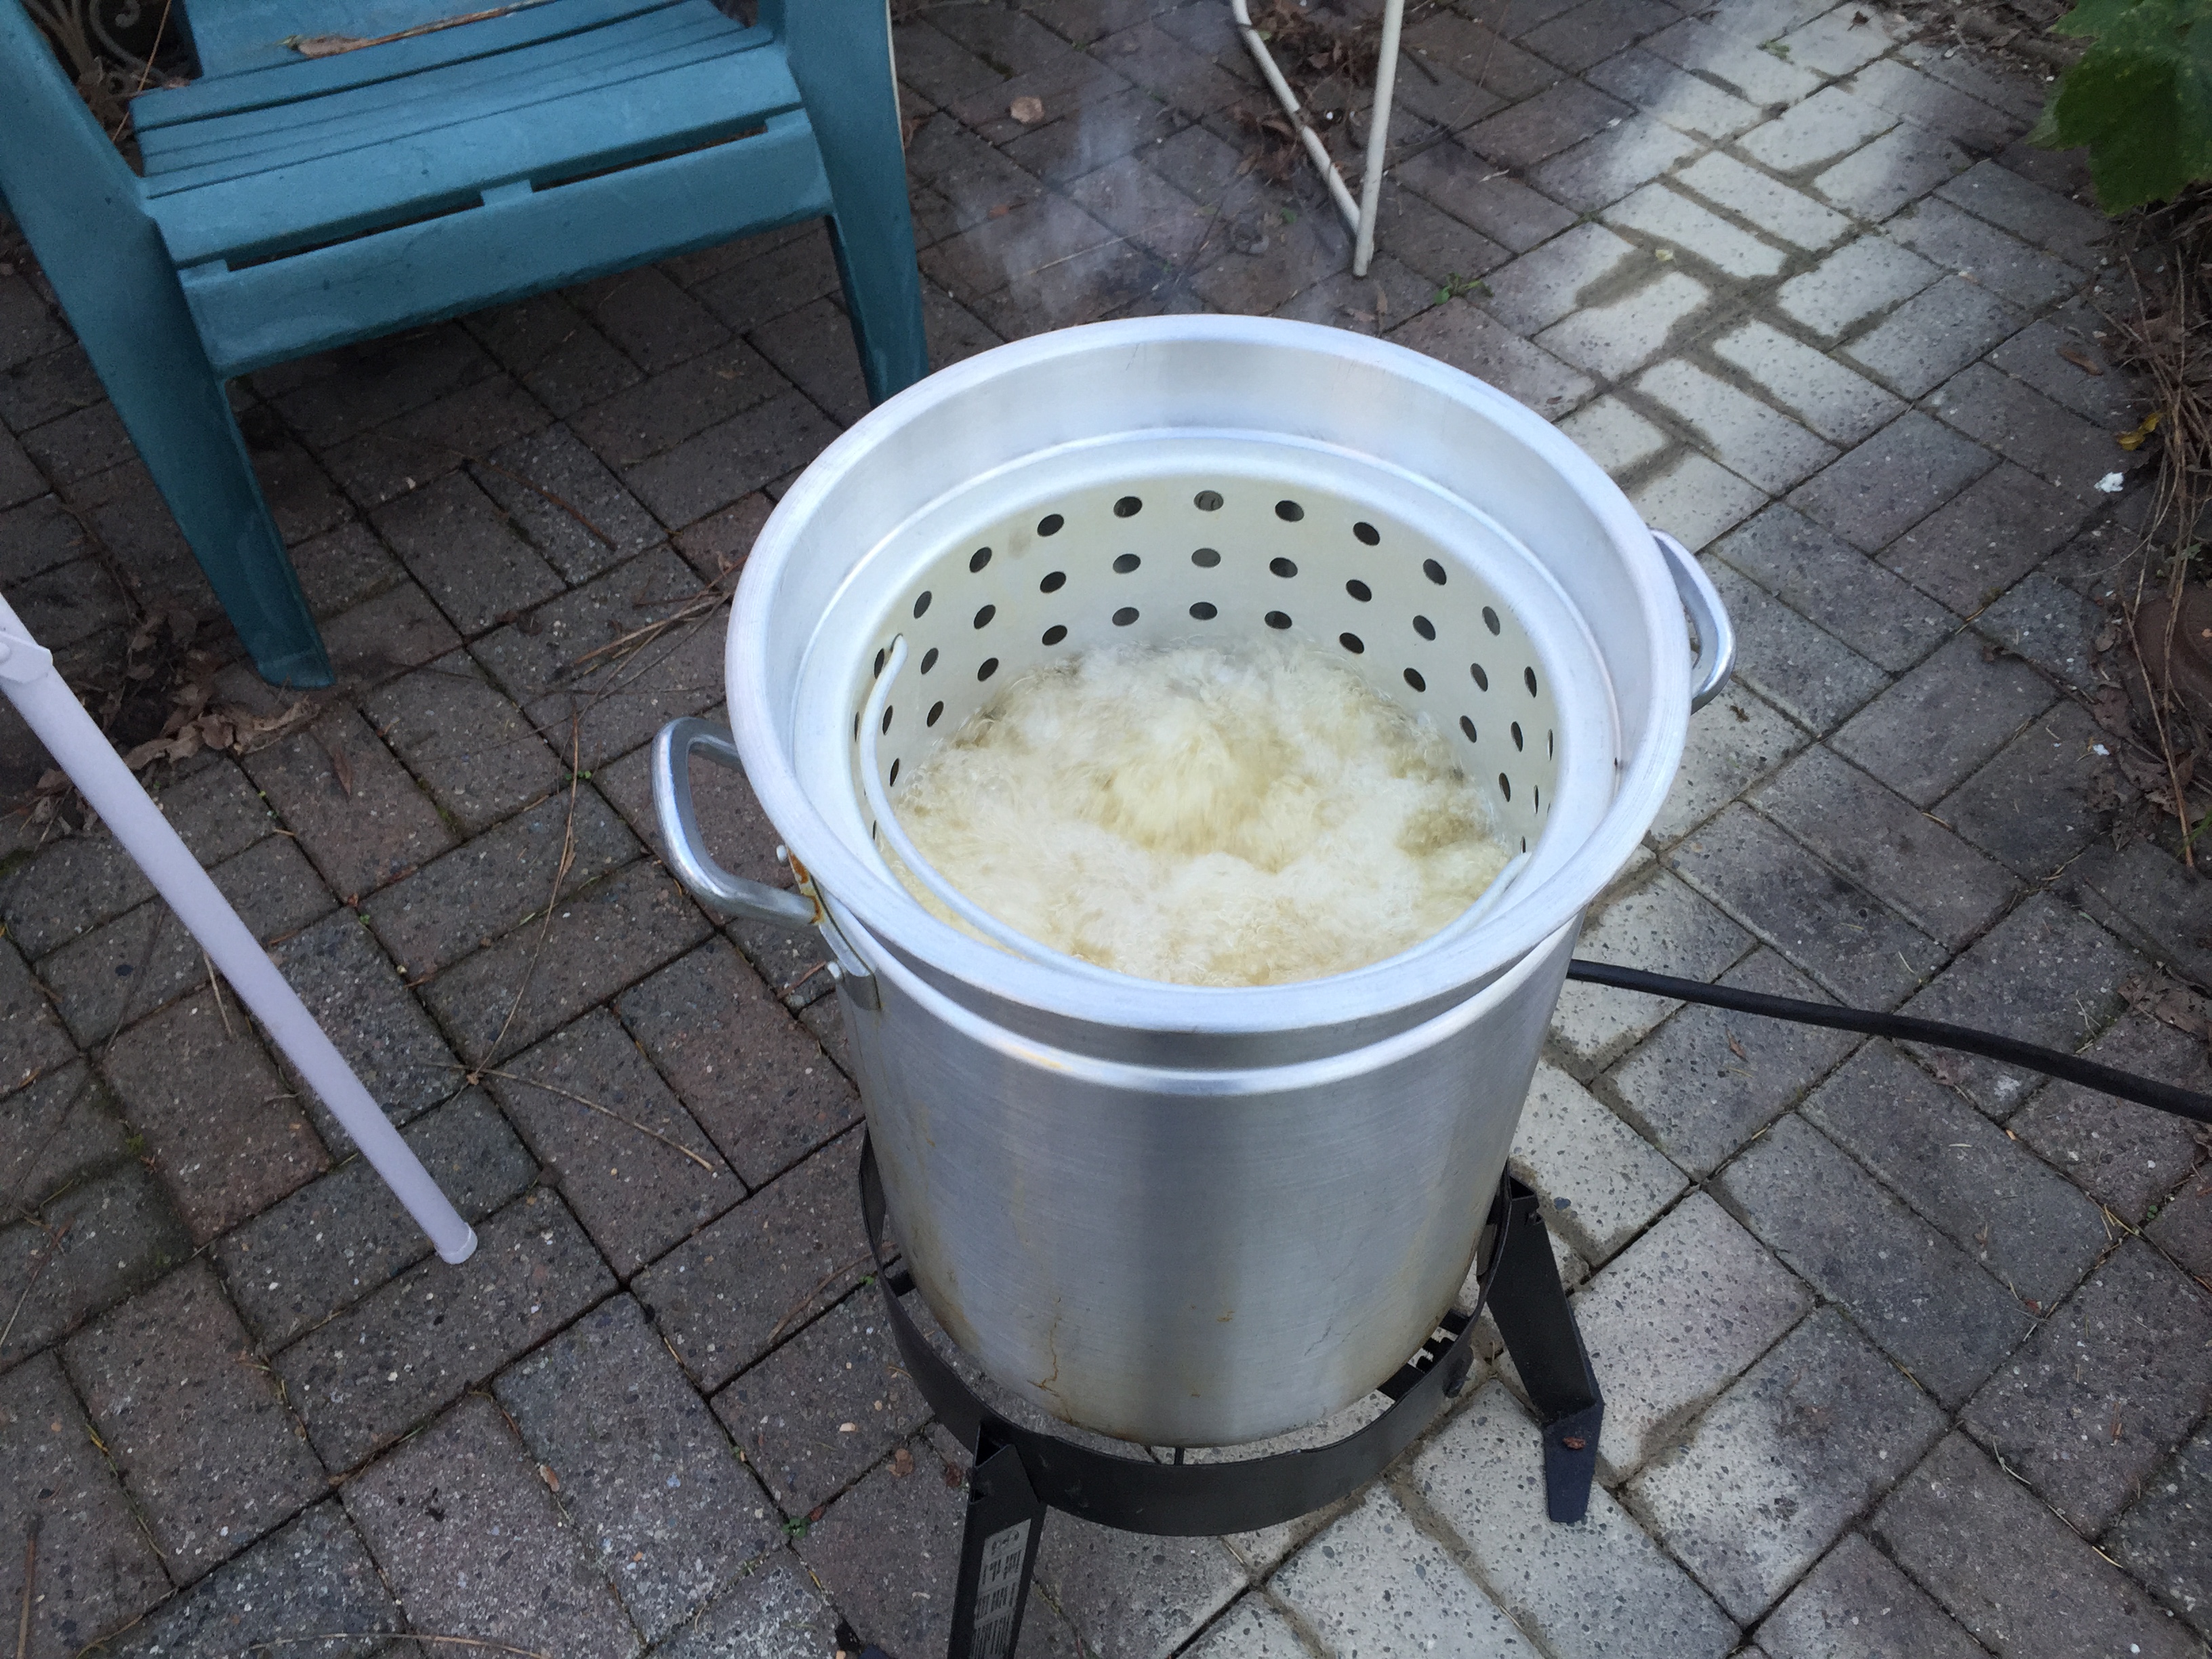
The fryer bubbling away
You want to let the turkey cook for about 5 minutes per batch. All we are looking for here is a nice, crispy skin. We don’t need to worry about cooking the turkey at all, that’s already taken care of! After about 3.5 minutes I start lifting the basket out a few inches to take a look at the skin. It probably won’t be done yet, that’s ok. Just lower it back in (CAREFULLY!!!!) and let it keep going another minute or so, then check again. Again, since we aren’t looking for a specific internal temp, about 5 minutes is the best I can give you. It’s a guideline. I think one batch took about 4, another about 5.5. It’s just going to depend.
Step 9: Once the desired skin crispiness is achieved, CAREFULLY remove the basket, let it drain above the pot for a minute, then move to a clean, oil safe surface so you can get your turkey out of there. I use a pair of tongs and some other device (large fork, spatula, another pair of tongs, whatever is convenient) to take each piece out one at a time and drop them on another sheet pan. Then load up the basket with the rest of the turkey, wait for the oil to get back to 375F, and do it again!
-
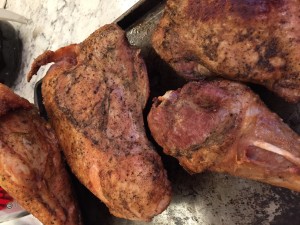
- Look at that!
-
- It’s so beautiful!
-

- I’m making myself hungry looking at these again
Step 10: Let the finished meat rest. This is a rule of cooking any meat. We’ve worked hard at keeping this turkey moist and juicy, and we don’t want to ruin that by carving right away. We started the frying about 40 minutes early, it took 10 minutes or so. We’ve got 30 minutes until people will start rioting. Give this 15 minutes or so before starting in on it, OK?
-
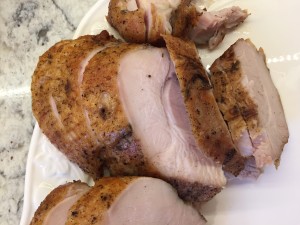
- LOOK AT IT!
-
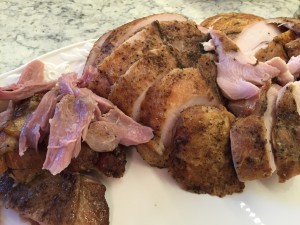
- So juicy! Such great color!
-
- Can we have Thanksgiving again now, please?
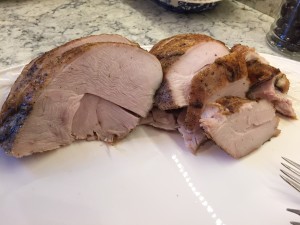
Step 11: Time to carve! Now I’ll admit, I’m not the best at this part. I only practice it once a year after all. But generally, I like to cut thick slices of the breast meat instead of those thin ones people traditionally do. For the thighs, take out the bone first, then slice nice wide pieces. The legs are up to you – leave them whole if people in your group like that, or just slice off the meat from the bone. I go back and forth on that one personally. I only carved 2 of the 4 breasts, and all of the dark meat. We at almost all of that with 17 of us. The rest of the breast meat we cut up for leftovers. Such good leftovers!
Step 12: Eat it! This is the best turkey you’ve ever had, so enjoy! The meat is moist and flavorful, the skin is crispy, slightly salty, with lots of flavor from the duck fat and herbs. I’m making my mouth water just thinking about it.
And that’s it, the best turkey you’ll ever have. Or at least the best I’ve ever had. It may have taken 5 days and 3 different cooks, but it was worth it! In the next couple of days I’ll put up another post with this whole thing as a real recipe. And as a bonus, I’ll throw in my super simple sous vide cranberries, which are also killer! If you have any questions let me know in the comments. The comments are moderated (had some spam issues early on), but I’ll approve any real questions and answer as best I can!
With that, I hope you all had amazing Thanksgiving’s of your own, and that next year you’ll consider giving my turkey a try. Or hey, Christmas is coming up! I know some people do turkey for that as well 🙂